
Spring Wreath (plus how-to)
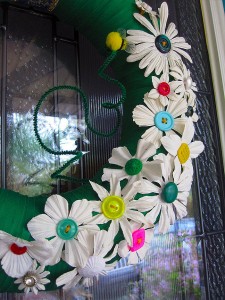
Spring has definitely sprung. This weekend, Rob and I began our spring update to our home and yard. The first item of business was replacing the Winter Yarn Wreath I made in January with an updated spring wreath! I made our new wreath with a straw wreath, yarn, bias tape, paper flowers, and colorful buttons.
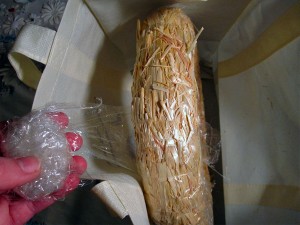
1. The first step is to start with the straw wreath. Place the wreath in a bag and remove the plastic wrap. You have to do this in a bag because the wreath will make a huge mess as you remove the plastic. Straw will go everywhere!

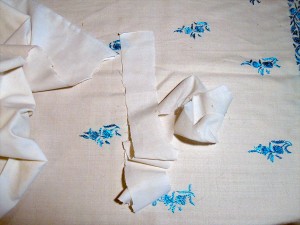
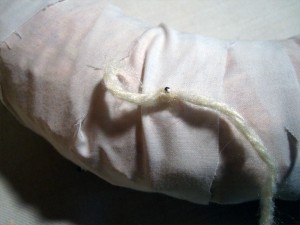
2. After you’ve unwrapped the wreath, leave it in the bag. Cut 1.5-2″ wide strips of scrap cloth (mine is from an old pillowcase that I use to practice sewing on). Wrap the cloth around the straw wreath, securing each end with stick pins. At this point, I usually choose a front & back for the wreath and try to keep all the ends of fabric on the back side.
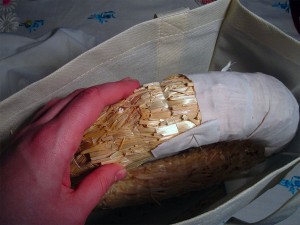
3. To smooth the profile of the wreath, I wrapped the whole thing in yarn next. I used an off-white yarn that I had salvaged from a thrift-store sweater. Make a small knot in the end of the yarn and use a stick pin to secure it to the back of the wreath. Wrap the wreath and then secure the end knot to the back of the wreath.
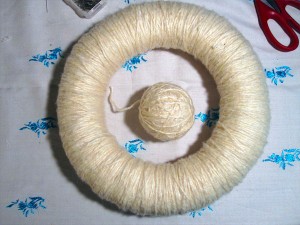
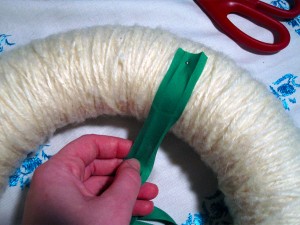
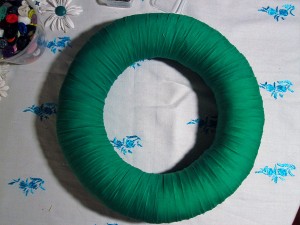
4. Since it’s not winter anymore, I didn’t want the main texture of this wreath to be yarn; I associate yarn with wool & sweaters & cold! I used a deep green single-fold bias tape to wrap the yarn wreath.
5. Now the hard work is done, and it’s time to have fun. Lay out your paper flowers and buttons to figure out which combinations you’re going to use. Then pin these flowers to the wreath. By pinning them first (instead of stitching), you can tweak your composition as needed.
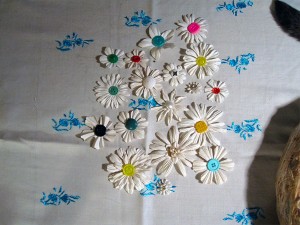
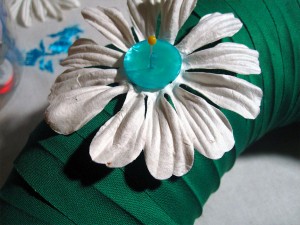
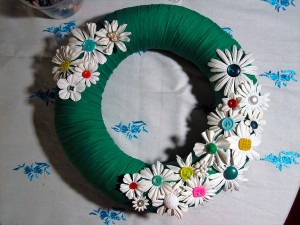
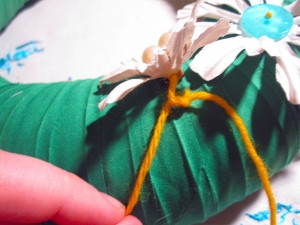
6. The last step is to stitch the flowers-with-buttons on to the wreath. I used a golden crewel wool and a really big needle. The more layers you go through (bias tape, yarn, straw), the more securely attached the flower button will be. After you get the needle through, stitch on the flower, and finish with a knot. (Then trim the ends; I used a pretty long strand of yarn, so I could just trim and move on to the next flower without re-threading my needle.)
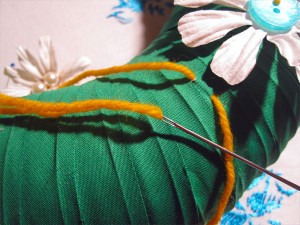
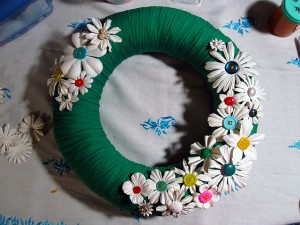
And then you have your finished wreath!
I added a little bee that I made out of some pompoms and pipe cleaners before I hung the wreath on our door.
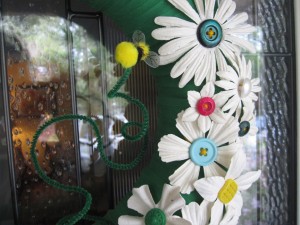
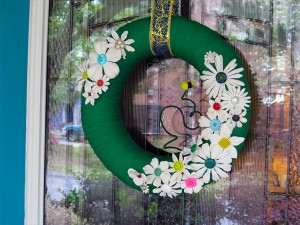
I love that bee. So awesome. 🙂
Spring is here with flowers and bees. Great looking wreath. Good directions. Maybe I’ll try one.
FANTASTIC!! Happy Spring!